The Facebook Pixel is possibly Facebook's most useful tool for digital marketers. The pixel allows you to monitor how successful your Facebook Ads actually are, giving you accurate conversion stats and the opportunity to remarket to website visitors and create custom audiences based on site traffic.
That’s why it’s essential for anyone currently running Facebook Ads to have a Facebook Pixel installed on their website.
Before we start, it’s important to answer the question: “What is a Facebook Pixel, and what does it do?” The Facebook Pixel is a piece of code you place on the backend of your website. It tracks visitor actions on your website, allowing you to measure the effectiveness of your advertising. In some cases you may need a web developer to add the code, and on other platforms you will be able to do it yourself.
Marketers can use the Facebook Pixel to:
- Make sure your Facebook and Instagram ads are shown to the right people. You can find new customers, visitors of a relevant page or those who have taken a desired action on your website.
- Drive more conversions and sales. It allows you to set up automatic bidding to reach people who are more likely to make a purchase or enquiry.
- Measure your advertising results. With Facebook Pixel, you will have a better understanding of the impact of your ads by measuring what happens after people click on it.
Setting up a Facebook Pixel
Step 1: Create a Facebook Pixel
You’ll need a ‘Facebook Business Manager’ for your organisation, before you can create a Facebook Pixel. Here’s how to set one up
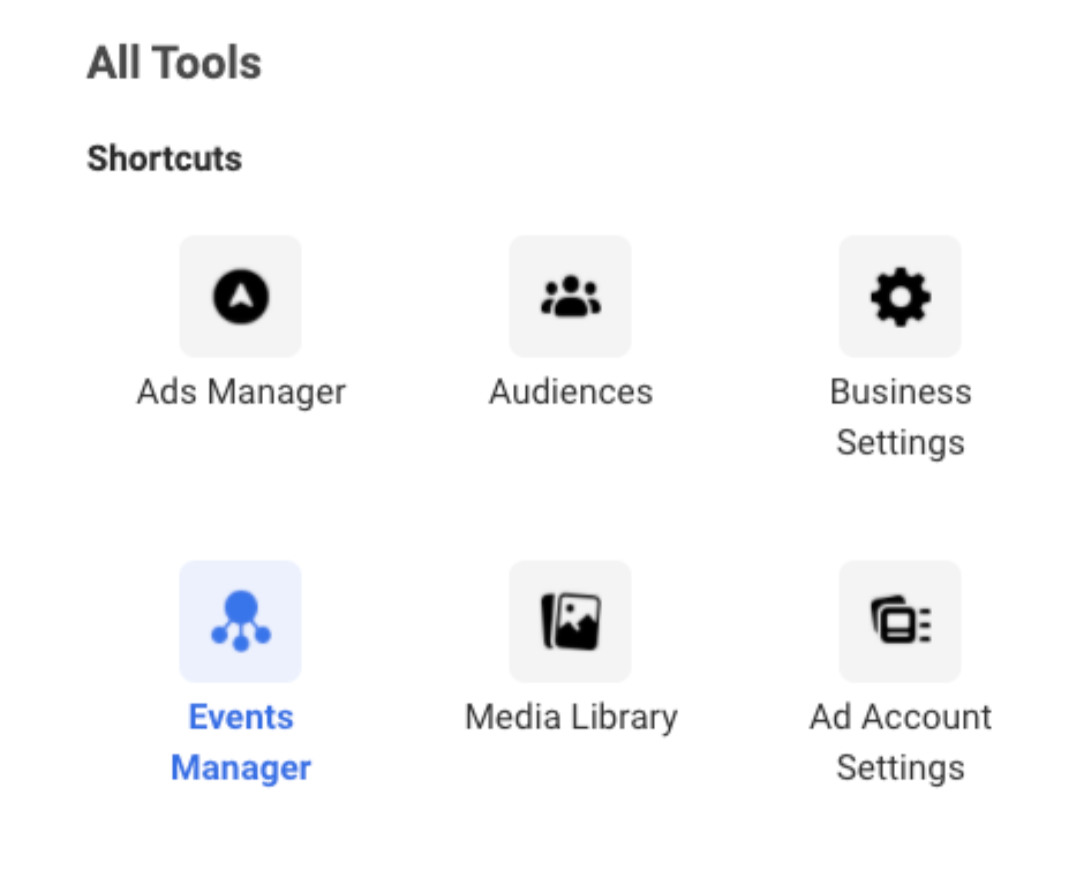
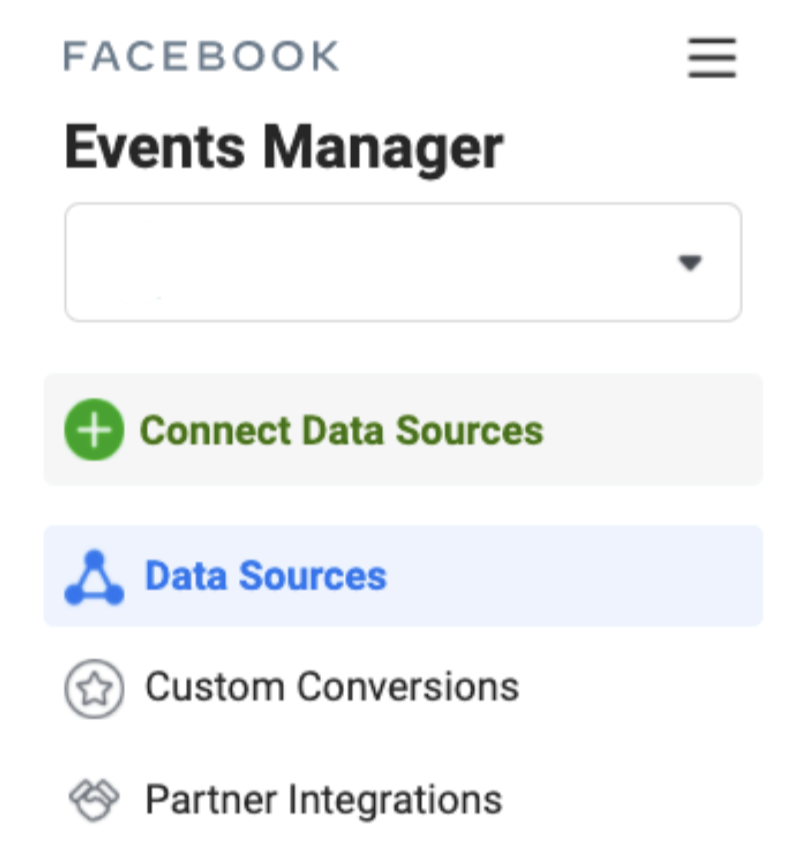
1. Visit the Events Manager section within your Facebook Business Manager.
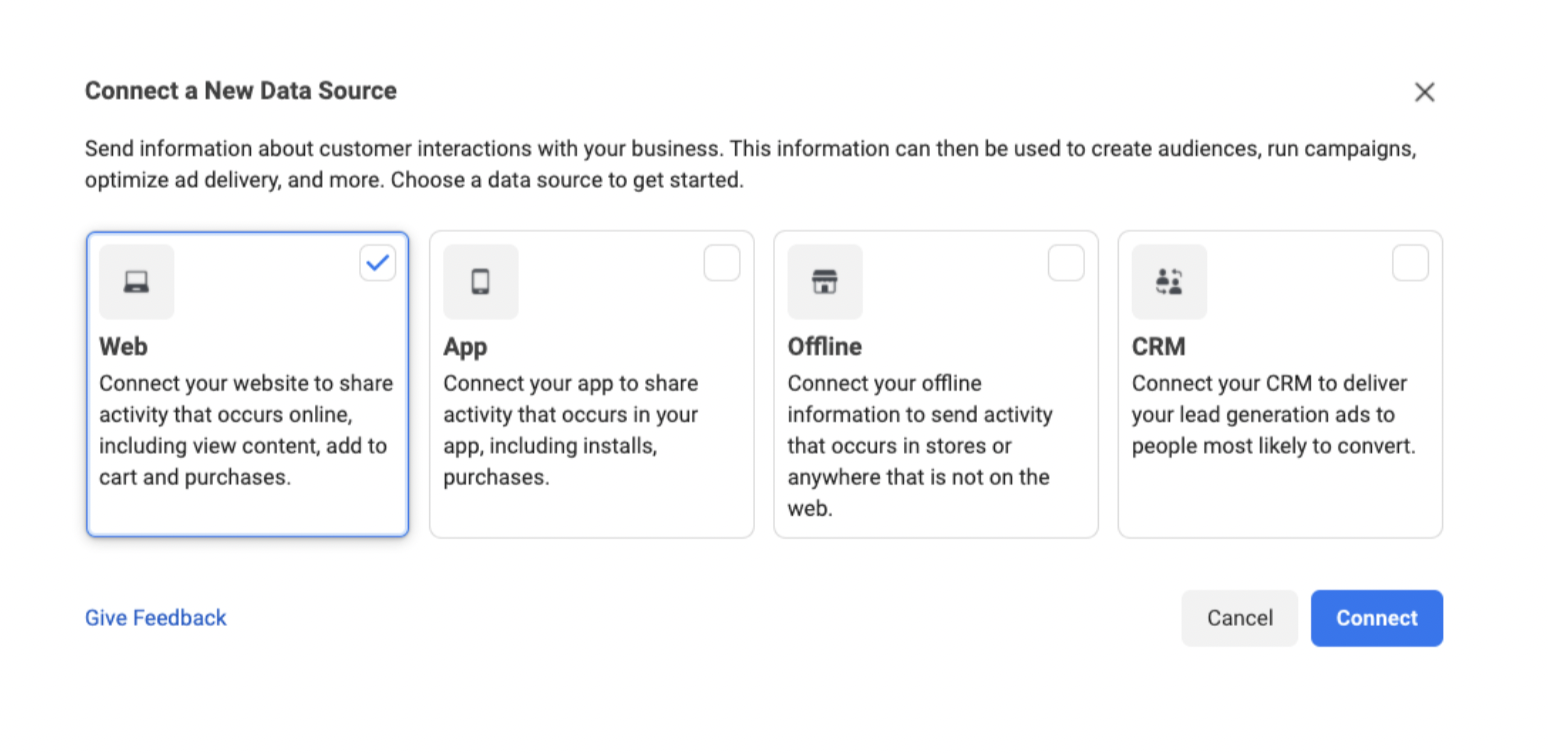
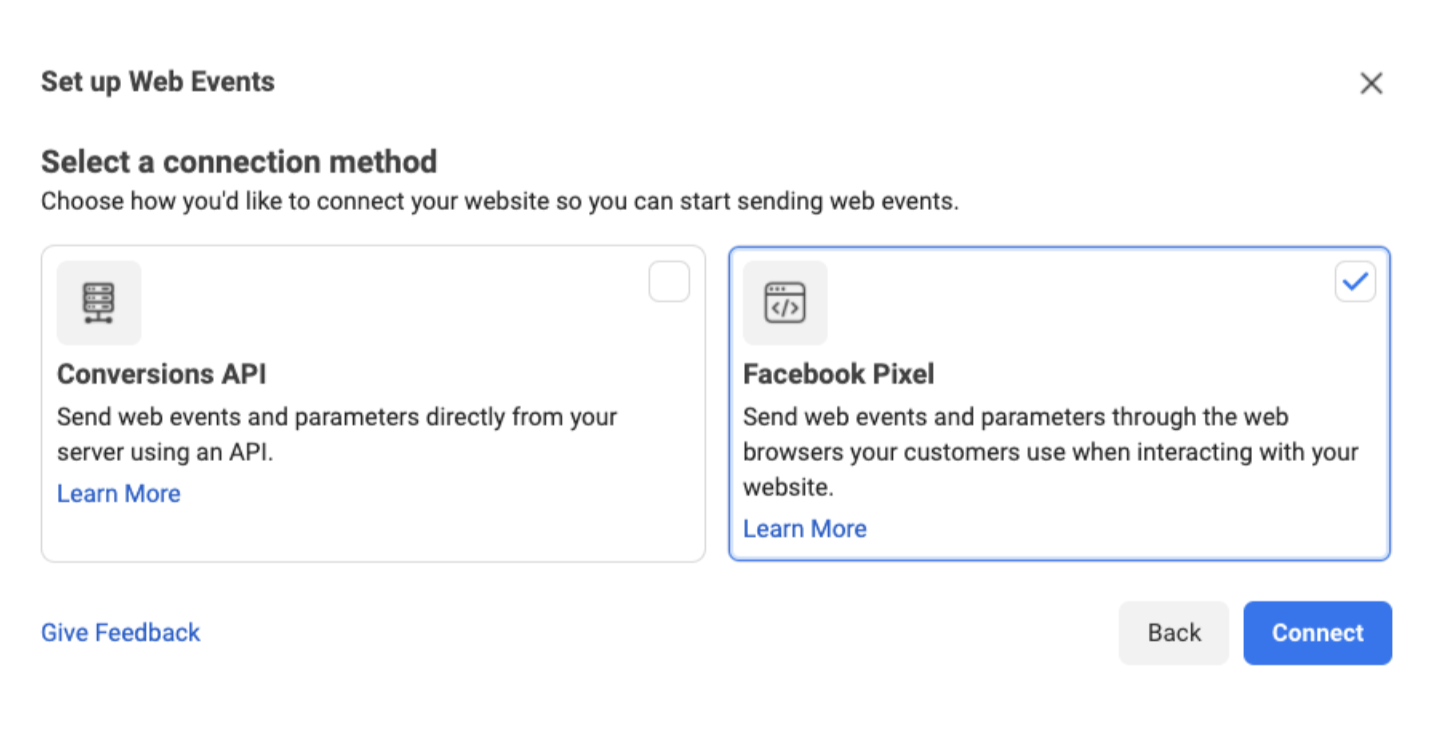
3. Select Facebook Pixel and click Connect.
4. Add your Pixel Name (e.g. ‘Company Name’s Facebook Pixel’).
5. Enter your website URL to check for easy setup options.
6. Click Continue.
Step 2: Add the Facebook Pixel to your website
Once you’ve created your pixel, the Facebook pixel code is ready to be put on your website. Choose from these setup options:
Option 1: To manually add the code to your website:
1. Visit the Events Manager section within your Facebook Business Manager
2. Choose the pixel you want to set up, then click Continue Pixel Setup.
3. Select Facebook Pixel and click Connect, then Install code manually.
4. Copy the pixel base code.
5. Find the header of your website, or locate the header template in your CMS or web platform (e.g. WordPress).
6. Paste the base code at the bottom of the header section, just above the closing head tag.
7. Click Continue.
8. Add events using the Event Setup Tool: click Open Event Setup Tool to add events and parameters without additional coding, then click Done when you’re finished.
Option 2: To use a partner integration (e.g. Google Tag Manager):
1. Visit Events Manager.
2. Select the pixel you want to set up, then click Continue Pixel Setup.
3. Click Use a partner, and select a partner from the list.
4. Follow the onscreen setup instructions to finish setting up the pixel.
Option 3: To send Email instructions to someone else who updates the code on your website (e.g. your website developer):
1. Go to Events Manager.
2. Select the pixel you want to set up, then click Continue Pixel Setup.
3. Click Email Instructions, and enter the recipient’s email address.
4. Click Send.
Step 3: Set up Events
Once you’ve added the pixel code to your website, the last step is to set up Events to measure the actions of your site visitors. You can either do this by manually installing the code or by using the Event Setup Tool. Remember to make sure that your pixel is working correctly.
One pixel can be utilised across your whole website, on multiple pages.
That’s it, you’re ready to go — congratulations on finishing setting up your Facebook Pixel!
If you’d like some help, get in touch with us today, or find out more about our Facebook advertising services.